
CentOS 7.1默认yum没有MySQL 5.6,稳健的方法是使用MySQL官网提供的源码自行编译安装。
但是编译安装的MySQL 5.6的启动管理是基于CentOS 6.x的service管理方式,不是CentOS 7.x的Systemd的管理方式。
MySQL为RHEL和CentOS提供了的MySQL 5.6的yum源,使用yum安装的MySQL是自带Systemd管理脚本文件的。
那么,如何用Systemd管理编译安装的MySQL呢?
首先看看yum安装的MySQL提供的Systemd管理脚本
$ cat /usr/lib/systemd/system/mysqld.service
#
# Simple MySQL systemd service file
#
# systemd supports lots of fancy features, look here (and linked docs) for a full list:
#   http://www.freedesktop.org/software/systemd/man/systemd.exec.html
#
# Note: this file ( /usr/lib/systemd/system/mysql.service )
# will be overwritten on package upgrade, please copy the file to
#
#  /etc/systemd/system/mysql.service
#
# to make needed changes.
#
# systemd-delta can be used to check differences between the two mysql.service files.
#

[Unit]
Description=MySQL Community Server
After=network.target
After=syslog.target

[Install]
WantedBy=multi-user.target
Alias=mysql.service

[Service]
User=mysql
Group=mysql

# Execute pre and post scripts as root
PermissionsStartOnly=true

# Needed to create system tables etc.
ExecStartPre=/usr/bin/mysql-systemd-start pre

# Start main service
ExecStart=/usr/bin/mysqld_safe

# Don't signal startup success before a ping works
ExecStartPost=/usr/bin/mysql-systemd-start post

# Give up if ping don't get an answer
TimeoutSec=600

Restart=always
PrivateTmp=false
将ExecStartPre=/usr/bin/mysql-systemd-start pre 和 ExecStartPost=/usr/bin/mysql-systemd-start post 一行行首用#号注掉;
将ExecStart=/usr/bin/mysqld_safe一行改为 ExecStart=/usr/local/mysql/bin/mysqld_safe
最后应该是这个样子
#
# Simple MySQL systemd service file
#
# systemd supports lots of fancy features, look here (and linked docs) for a full list:
#   http://www.freedesktop.org/software/systemd/man/systemd.exec.html
#
# Note: this file ( /usr/lib/systemd/system/mysql.service )
# will be overwritten on package upgrade, please copy the file to
#
#  /etc/systemd/system/mysql.service
#
# to make needed changes.
#
# systemd-delta can be used to check differences between the two mysql.service files.
#

[Unit]
Description=MySQL Community Server
After=network.target
After=syslog.target

[Install]
WantedBy=multi-user.target
Alias=mysql.service

[Service]
User=mysql
Group=mysql

# Execute pre and post scripts as root
PermissionsStartOnly=true

# Needed to create system tables etc.
#ExecStartPre=/usr/bin/mysql-systemd-start pre

# Start main service
ExecStart=/usr/local/mysql/bin/mysqld_safe

# Don't signal startup success before a ping works
#ExecStartPost=/usr/bin/mysql-systemd-start post

# Give up if ping don't get an answer
TimeoutSec=600

Restart=always
PrivateTmp=false


 Asynq任务框架
 MCP智能体开发实战
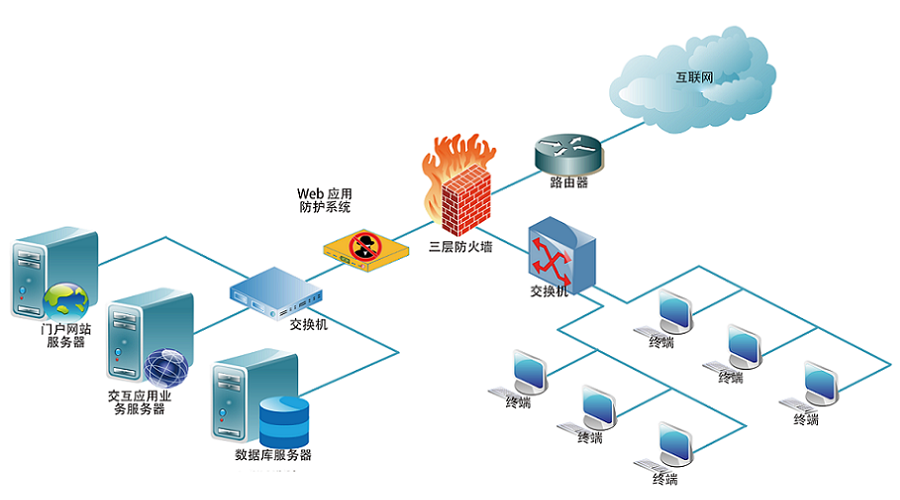 WEB架构
WEB架构 安全监控体系